Share Blogger Post Automatically to Facebook using IFTTT
Automatically posting blog posts on Facebook has been difficult in the past. The idea is simple. Tell Facebook you have a blog you want to post on your wall, Social media will do what you say. However, its implementation turned out to be more difficult.
Even with Facebook messaging, only the title and blog title appear on the wall, leaving content or links. There are other plugins, but they do not work as smoothly as expected. Something is always missing.

The IFTTT will now guide you through the mini-manual by repeatedly pressing the words "this", "then" և "continue". Finally, select the 3 channels you are interested in և click "Next" to complete the registration.
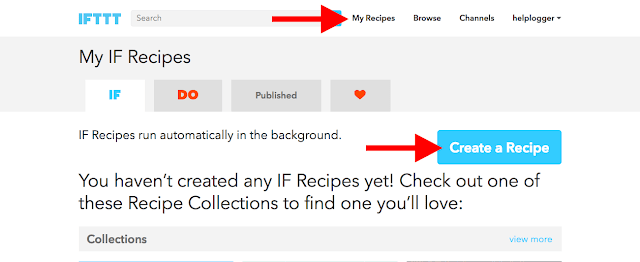
First, click on the "My Recipes" link, then click the "Create Recipe" button, as shown below.
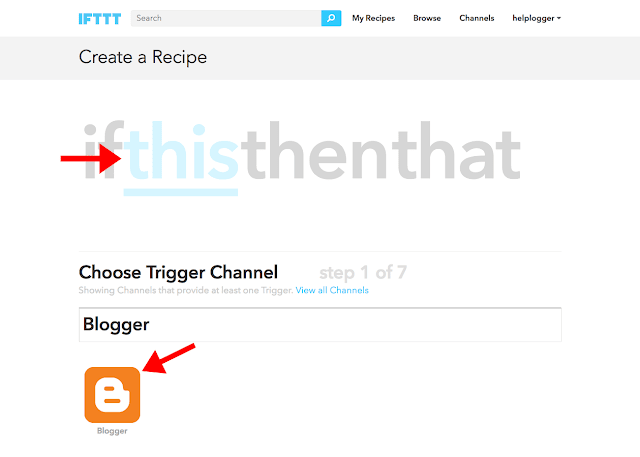
Start creating a recipe by clicking on the blue word "it" and selecting "Trigger Channel". The launcher you have to choose from is Blogger. Find it in the box below.
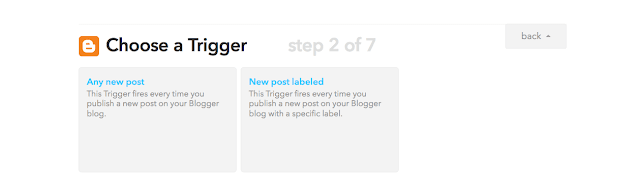
When our Blogger blog joins, you can use the Select Trigger to choose which posts to post on Facebook. You can select "All New Posts" or "New Starred Posts".
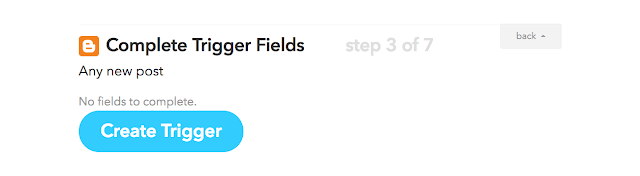
Finally, click the blue "Create Trigger" button to proceed to the next step.
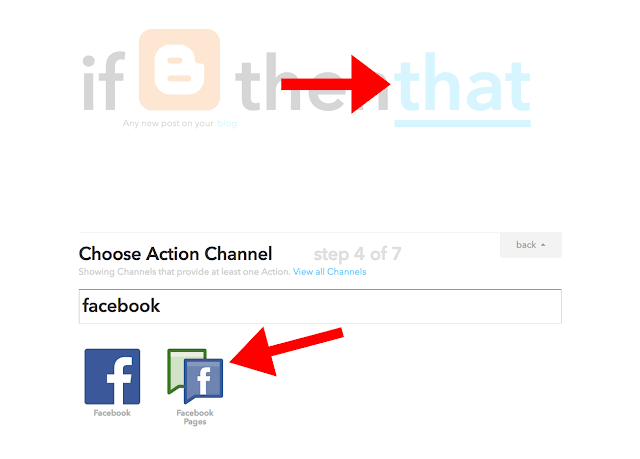
Click on the blue "was" to adjust "was". A window with a list of social networks will open. Look in the "Facebook" field և select the "Facebook Page" option (select the simple "Facebook" option if you want to post a message on your personal profile).
Click "Done" և "Skip to next step" և we are almost done ...
You will be asked to select "Action" where you can specify whether you only want to "Create status message", "Create link message" or "Refresh photo from URL". Select "Create Link" as shown below.

If you are unsure about the functionality of each component, visit this page .
Click the "Create Recipe" button to complete your recipe.
And that's it. This is how the IFTTT recipe is prepared. The next time you post an article on Blogger, it will be automatically uploaded to Facebook.
Even with Facebook messaging, only the title and blog title appear on the wall, leaving content or links. There are other plugins, but they do not work as smoothly as expected. Something is always missing.
How to automatically share blog posts on Facebook using IFTTT
Here's an online IFTTT (If This, then That) utility that can stream social media posts through websites! The setup is quite simple և easy to use. So let's look at how we can use IFTTT blog posts to automatically share on Facebook.Step 1. Create a free IFTTT account
Visit IFTTT.com և create an account by creating a username և password.The IFTTT will now guide you through the mini-manual by repeatedly pressing the words "this", "then" և "continue". Finally, select the 3 channels you are interested in և click "Next" to complete the registration.
Step 2. Create a new recipe
After saving, we need to "Create a recipe". The recipe is basically a process of merging two platforms. In our case, we will merge Blogger with Facebook. It will not take more than five minutes.First, click on the "My Recipes" link, then click the "Create Recipe" button, as shown below.
Start creating a recipe by clicking on the blue word "it" and selecting "Trigger Channel". The launcher you have to choose from is Blogger. Find it in the box below.
Step 3. Connect your blog to IFTTT
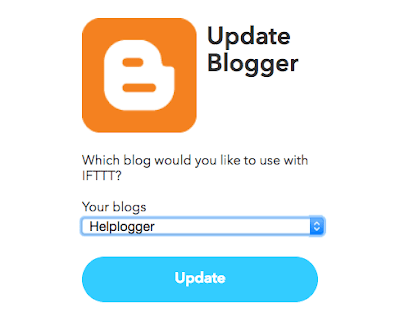
Connect your Blogger account to your IFTTT account. The Permission Request window will appear> click "Authorize", select the blog you want to use with IFTTT from the drop-down menu, then click "Update".When our Blogger blog joins, you can use the Select Trigger to choose which posts to post on Facebook. You can select "All New Posts" or "New Starred Posts".
Finally, click the blue "Create Trigger" button to proceed to the next step.
Step 4. Create the "It" trigger.
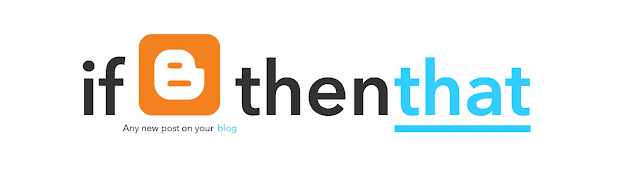
Once registered, create recipes that will determine the direction of your blog posts. Since you want to connect the blogger with Facebook, the recipe is as follows: if blogger, then Facebook. What you do is replace "it" on Blogger, which is the source, and "then" on Facebook, which is the destination.Click on the blue "was" to adjust "was". A window with a list of social networks will open. Look in the "Facebook" field և select the "Facebook Page" option (select the simple "Facebook" option if you want to post a message on your personal profile).
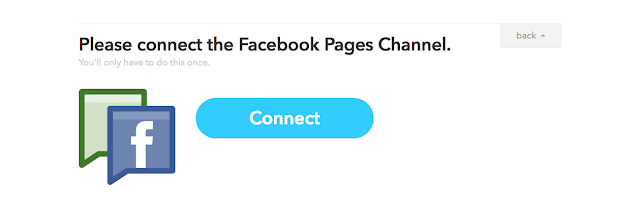
Step 5. Connect your Facebook page to IFTTT
Connect your Facebook account. Make sure you sign in to your Facebook account before signing up. Clicking the join button will open a pop-up window ready to send IFTTT to your Facebook page. Then select your Facebook page.Click "Done" և "Skip to next step" և we are almost done ...
You will be asked to select "Action" where you can specify whether you only want to "Create status message", "Create link message" or "Refresh photo from URL". Select "Create Link" as shown below.
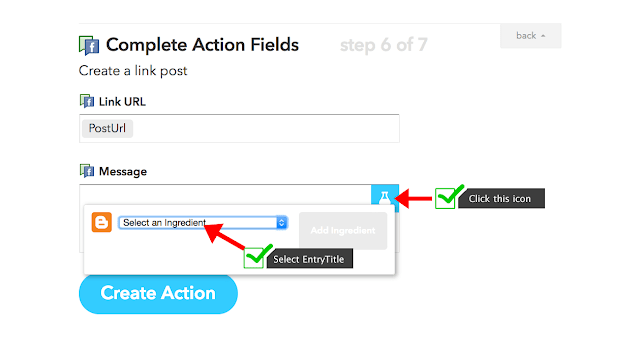
Step 6. Select a material
After selecting an action, the "Fill in the action field" window appears with the Link URL երով Message fields. To add components, click on the message box և you will see the test tube icon on the right. Clicking on this will open a drop-down menu where you can select the fields that should be included. Select "PostTitle" and click the blue "Add Item" button on the right.If you are unsure about the functionality of each component, visit this page .
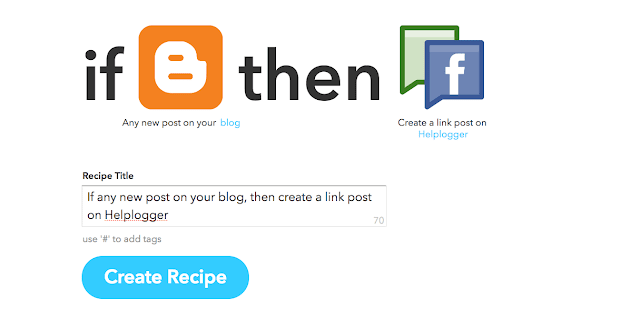
Step 7. Create a complete recipe
Finally, click the blue "Create Action" button և your recipe should look like this:Click the "Create Recipe" button to complete your recipe.
And that's it. This is how the IFTTT recipe is prepared. The next time you post an article on Blogger, it will be automatically uploaded to Facebook.


